Welcome to Your Printing Company
Produce Quality
Printing For Your Business
At Your Printing Company, we transform your ideas into stunning printed materials. Whether you’re looking for business essentials, promotional items, or custom designs, we deliver quality printing solutions tailored to your needs.


our services
Explore Our All Catagories
At Your Printing Company, we offer a diverse range of printing and design services to
meet all your personal and business needs.

Advertising & Display
We have Presses with a sheet size up to 30 inches, plus many small presses for smaller quantity jobs.

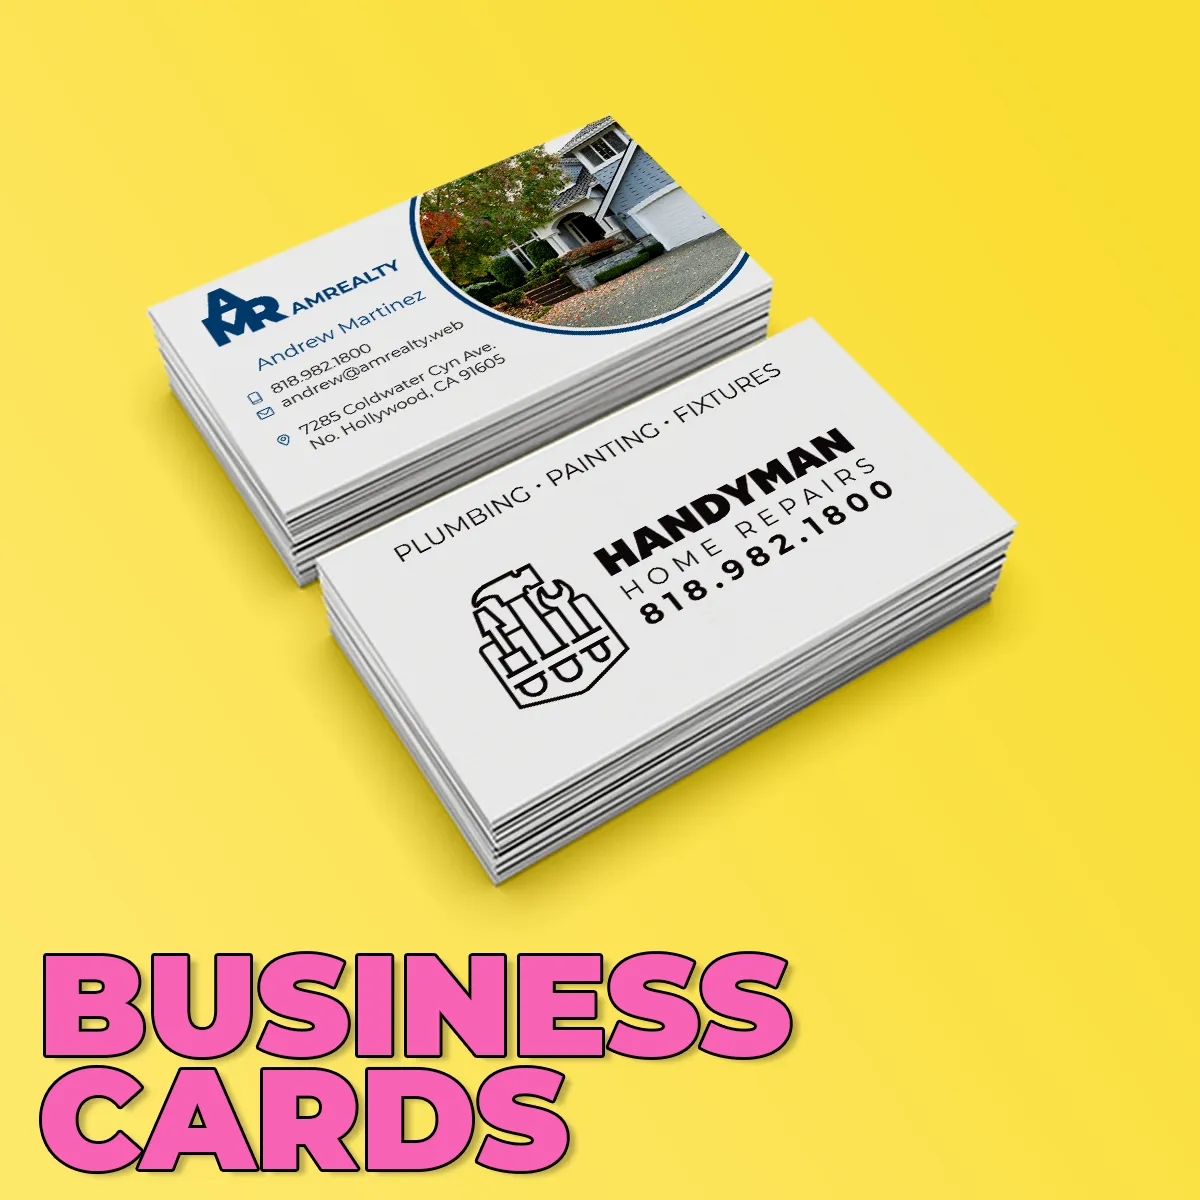
Business Essentials
Business Cards, Brochures, Letterhead, Envelopes, Presentation Folders, Stationery, NCR Forms
Marketing Materials
Postcards, Flyers, Pamphlets, Newsletters, Catalogs, Booklets, Door Hangers, Table Tents

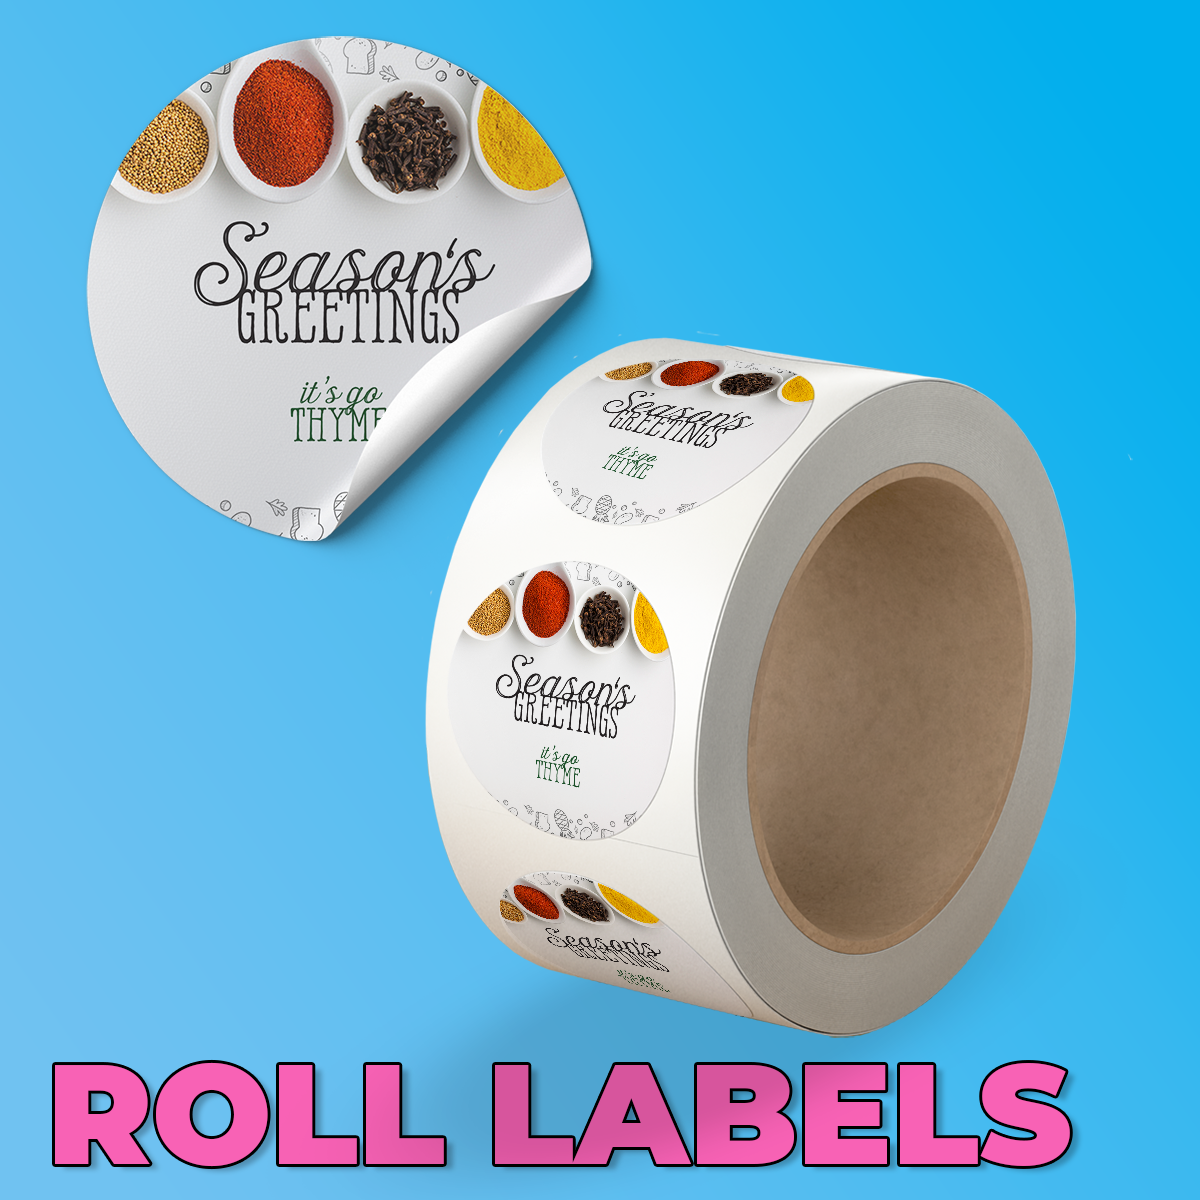
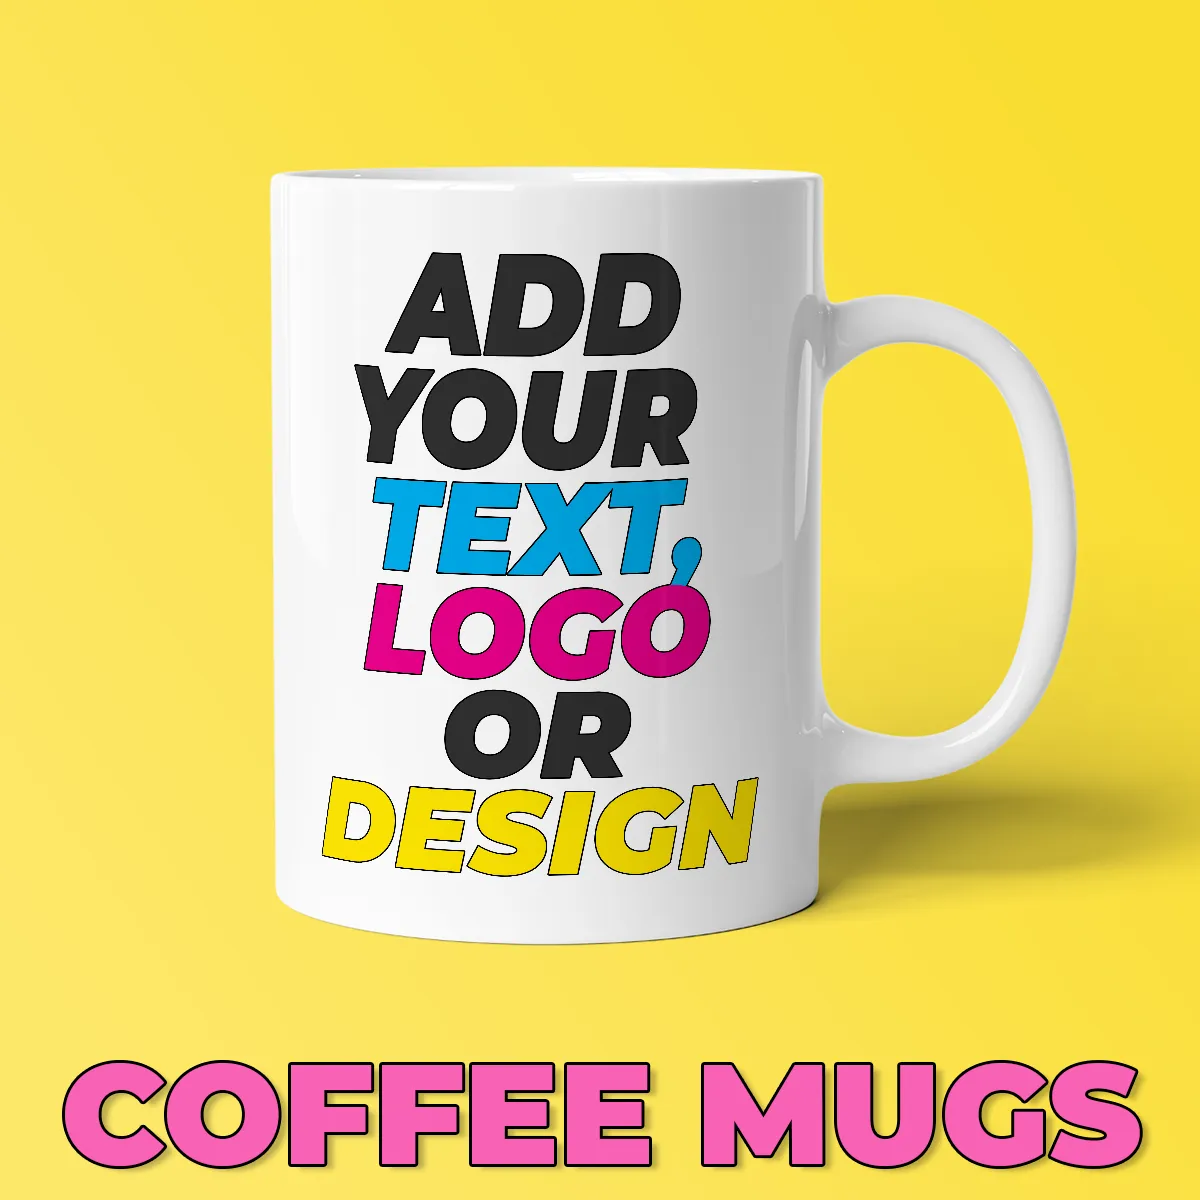
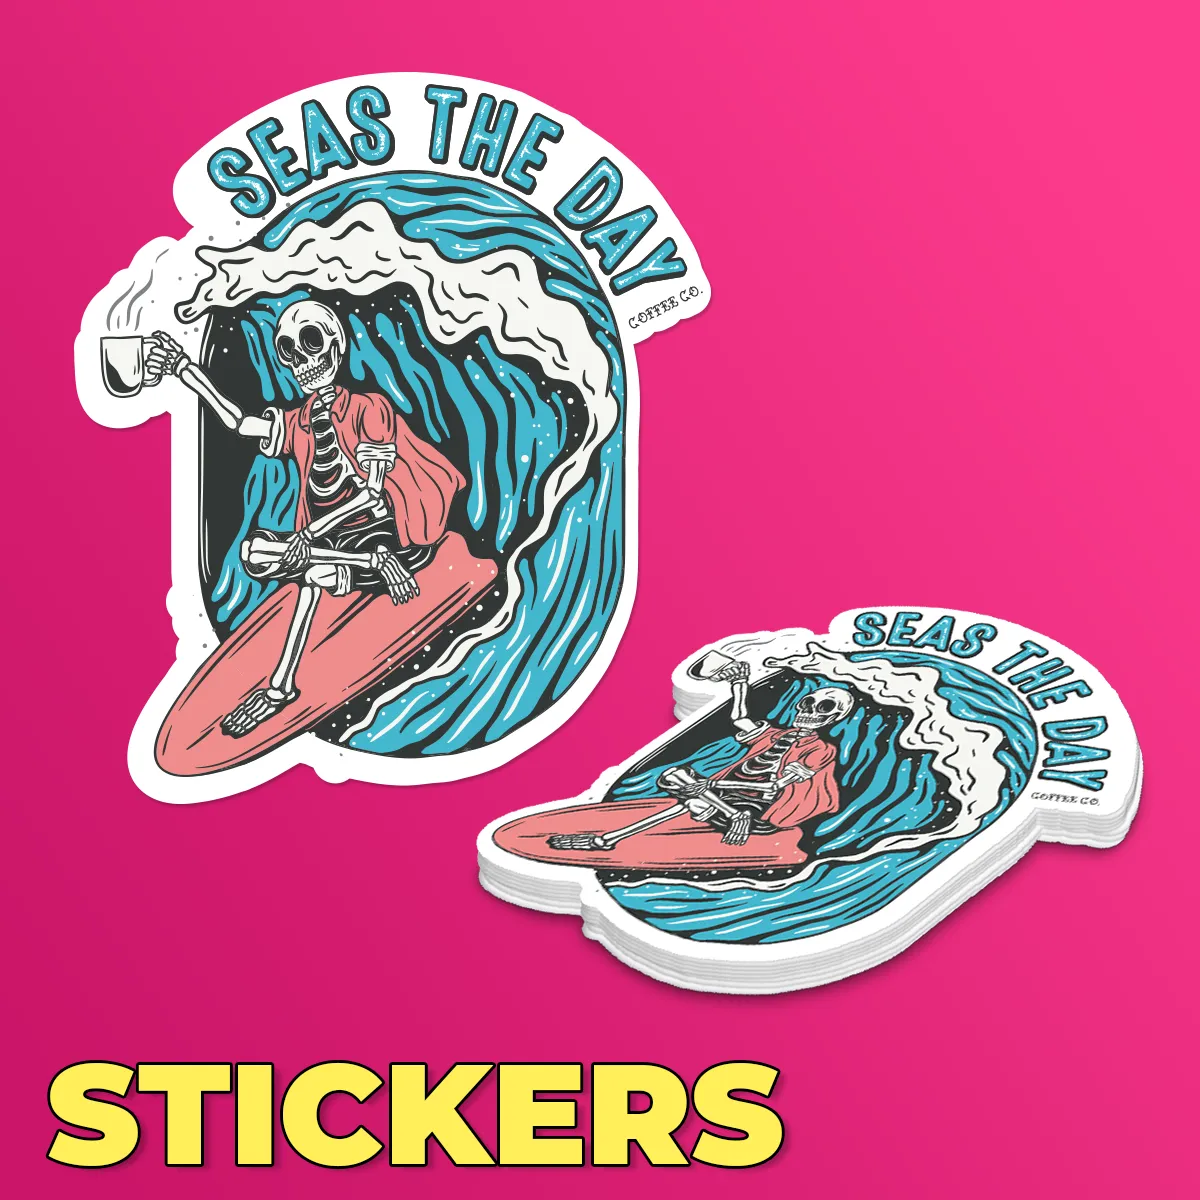
Promotional Products
Mugs, Coasters, T-Shirts, Buttons, Labels, Roll Labels, Stickers, Car Magnets, Bumper Stickers
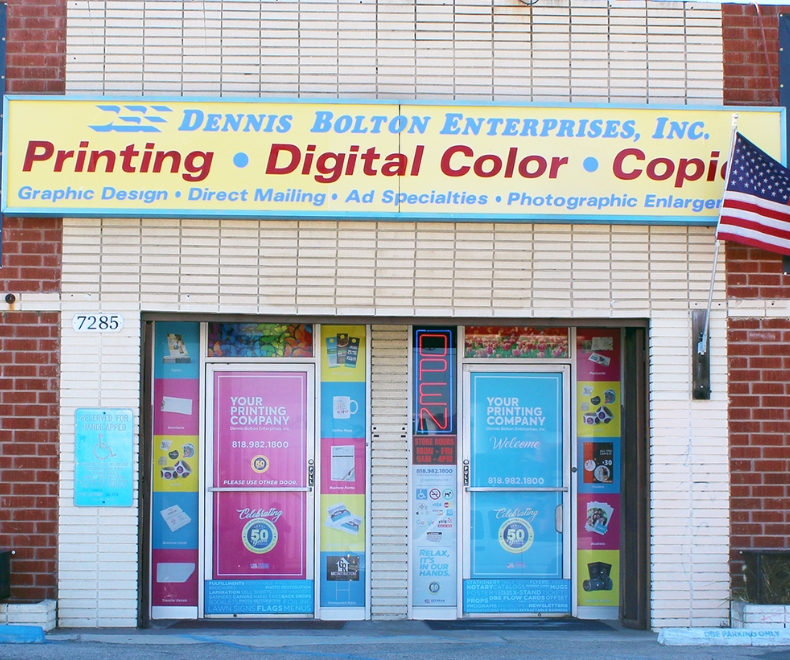
About Us
Established in 1971.
In Established in 1971 (section) add following text – We are a Veteran owned and operated business Serving the Greater Los Angeles since 1971. We’ve built an excellent reputation with great clientele. By continuously working hard in providing solutions to our customers challenges, it has allowed us to further grow into other markets closely associated with the printing industry.

Give us a call
Frequently Asked Questions
Who is Your Printing Company and what areas do you serve?
At Your Printing Company, we take pride in delivering professional-grade printing services that help businesses, organizations, and individuals present their messages with clarity and style with outdoor vinyl banners in North Hollywood, CA. With years of experience serving clients throughout Southern California, we’ve become a reliable provider of everything from everyday business materials to high-impact promotional signage. We’ve especially become known for producing eye-catching outdoor vinyl banners in Burbank, CA, which continue to be some of the most effective tools for local marketing.
What is your approach to quality and customer satisfaction?
Our focus is always on quality, precision, and customer satisfaction. We understand that when you come to us with a project-whether it’s a banner, poster, brochure, or business card-you’re not just ordering a print job; you’re investing in your brand. That’s why we work closely with each client to understand their needs, budget, and timeline. Our advanced printing equipment and expert team allow us to offer both flexibility and consistency, whether you need a single piece or a large run of custom items.
How do your services help with local business visibility?
Our focus is always on quality, precision, and customer satisfaction. We understand that when you come to us with a project-whether it’s a banner, poster, brochure, or business card-you’re not just ordering a print job; you’re investing in your brand. That’s why we work closely with each client to understand their needs, budget, and timeline. Our advanced printing equipment and expert team allow us to offer both flexibility and consistency, whether you need a single piece or a large run of custom items.
What specific printing services do you offer?
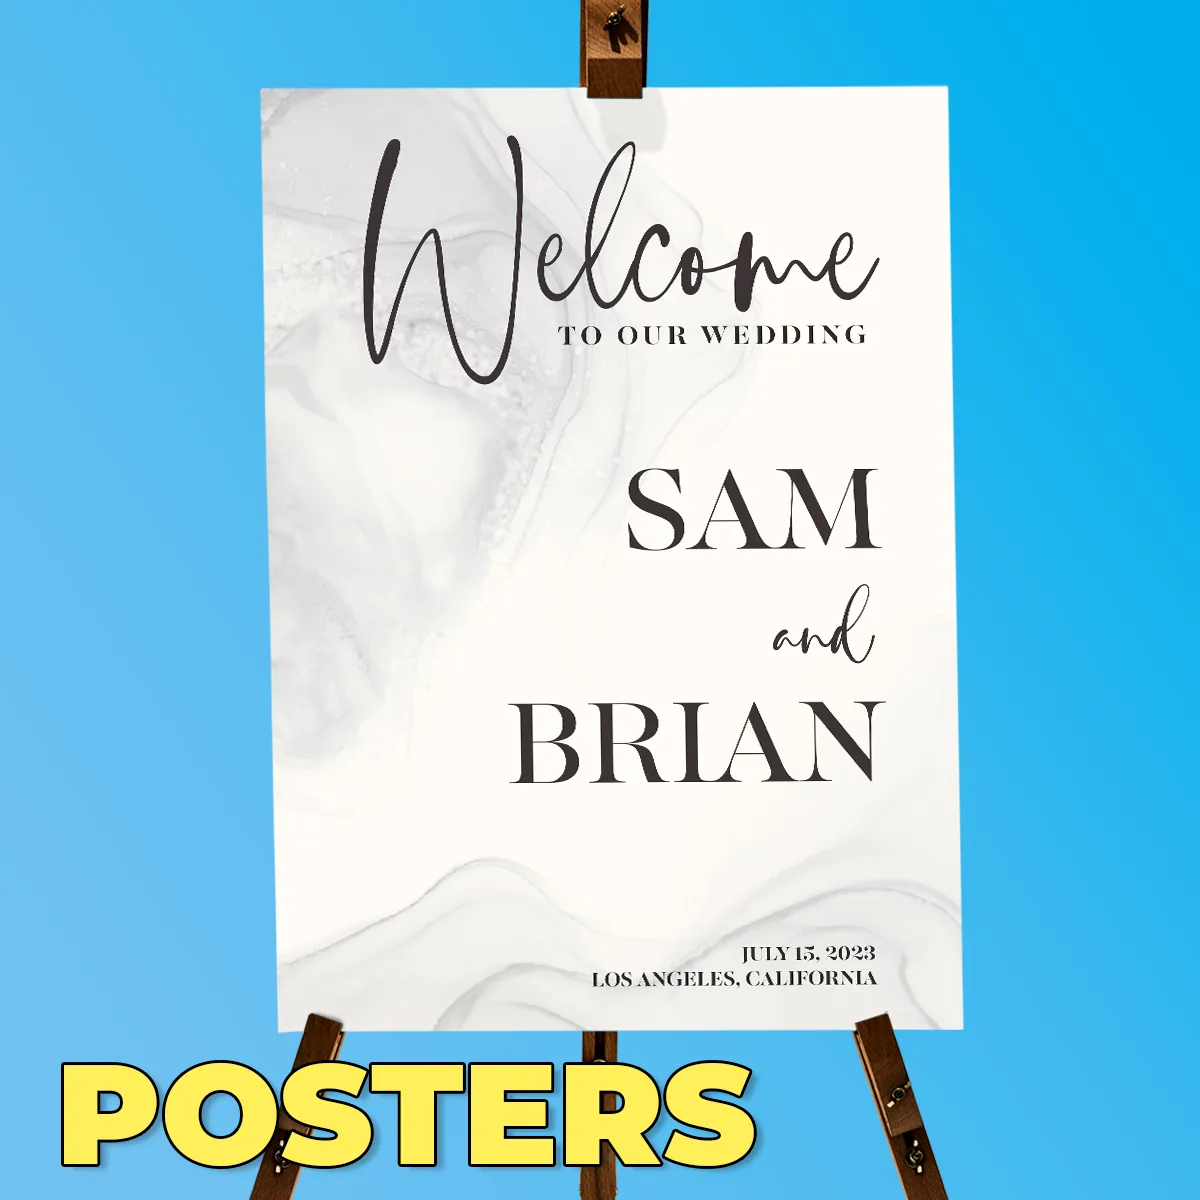
Our clients turn to us again and again because they know we deliver results they can depend on. Our most popular services include large-format printing for signs, banners, and trade show materials, as well as durable outdoor vinyl banners tailored for both short- and long-term use. We also provide business essentials like brochures, flyers, and presentation folders, alongside custom poster printing, finishing, and professional graphic design services to help bring your ideas to life.
Why are your outdoor banners particularly effective?
Our specialization in outdoor vinyl banners in Burbank, CA means we know what works for this unique market. We use fade-resistant inks and high-grade materials to ensure that your banners stand up to sun, wind, and rain-because outdoor advertising should work hard for you, season after season. From promoting local festivals and retail sales to announcing real estate opportunities or community events, outdoor vinyl banners in North Hollywood, CA continue to be a cost-effective way to get noticed.
We recognize that the intense California sun can be brutal on marketing materials, which is why we utilize advanced UV-protective coatings that keep your colors vibrant and your text sharp for the long haul. Our heavy-duty vinyl options are engineered with reinforced hems and sturdy grommets, preventing tearing or fraying even when subjected to the Santa Ana winds. This technical precision ensures that your brand maintains a professional appearance regardless of the weather conditions. Furthermore, we assist our clients in choosing the perfect weight and finish for their specific installation site, whether it’s a breezy construction fence or a high-traffic storefront.
Which communities do you work with most frequently?
Based right in the heart of Southern California, we proudly serve a broad and diverse clientele. Burbank and North Hollywood are vibrant, creative communities where visibility matters-especially for small businesses, entertainment firms, nonprofits, and event organizers. Our work with outdoor vinyl banners in Burbank, CA has helped countless local businesses connect with residents and tourists alike. In North Hollywood, known for its arts scene and business growth, outdoor vinyl banners provide a key advantage in crowded and competitive commercial districts. This geographic focus allows us to appreciate the specific aesthetic and functional requirements of the region, ensuring that every project we undertake resonates with the local culture. You can depend on us for your outdoor vinyl banners in Burbank, CA and surrounding areas.
We recognize that the Southern California market is uniquely fast-paced and visually saturated, making it essential for your brand to stand out with professional, high-resolution clarity. Whether you are looking to capture the attention of commuters on busy thoroughfares or aiming to create an inviting atmosphere at a local street fair, our expertise ensures your message is impossible to ignore. We have fine-tuned our production techniques to specifically address the high-sun exposure and environmental factors common to this area, providing durable solutions that maintain their brilliance. By choosing a partner who understands the local landscape for outdoor vinyl banners in North Hollywood, CA, you gain access to insights that help bridge the gap between a simple advertisement and a meaningful community connection.
What can I expect when working with your team?
By working with clients throughout the area, we’ve developed a deep understanding of what local businesses need to succeed. We offer quick turnaround times, personal service, and the flexibility to handle last-minute orders or complex custom jobs. Whether you’re promoting a live performance, advertising a grand opening, or building brand awareness, we can help you craft the right message and display it with impact. Our deep roots in the community allow us to anticipate the unique challenges you face, from navigating local foot traffic patterns to selecting materials that withstand the specific Southern California climate.
We pride ourselves on being more than just a vendor of outdoor vinyl banners in North Hollywood, CA; we act as a strategic partner invested in your growth. This means offering expert advice on color theory, font legibility, and material durability to ensure your investment yields the highest possible return. We know that in a fast-paced commercial environment, opportunities can arise suddenly, which is why our streamlined production process is designed for maximum agility. By combining technical expertise with a genuine passion for local commerce, we ensure that every banner, flyer, and sign we produce serves as a powerful catalyst for your professional success.
Why should I depend on Your Printing Company with my project?
We’ve grown through word-of-mouth and long-standing relationships with our customers. That’s because we don’t just deliver print jobs-we deliver peace of mind. From the moment you contact us, we focus on helping you achieve your goals through thoughtful design, professional production, and on-time delivery of outdoor vinyl banners in North Hollywood, CA and beyond. Our clients rely on us because we treat their projects like our own. Our team takes the time to verify every detail, ensuring that the final product not only meets but exceeds your expectations. Contact Your Printing Company today to get started with your outdoor vinyl banners in Burbank, CA today!
We are a Veteran owned and operated business Serving the Greater Los Angeles since 1971.
Our Location
Monday thru Friday
9:00am to 4:00pm
Copyright © 2025 Your Printing Company | All Rights Reserved.